-40%
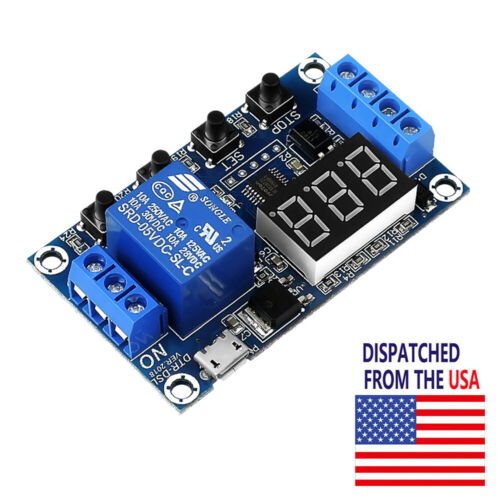
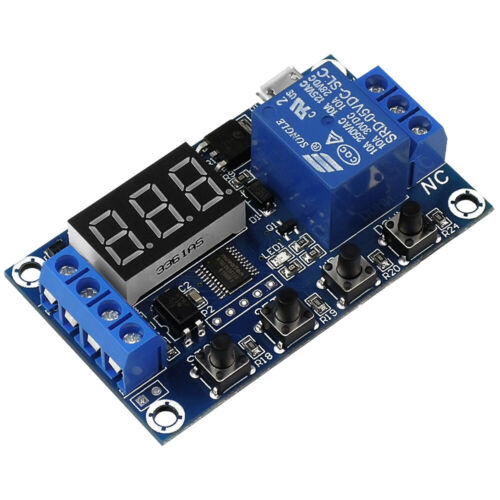
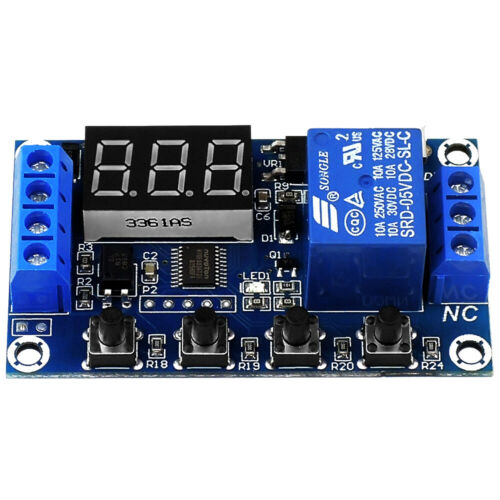
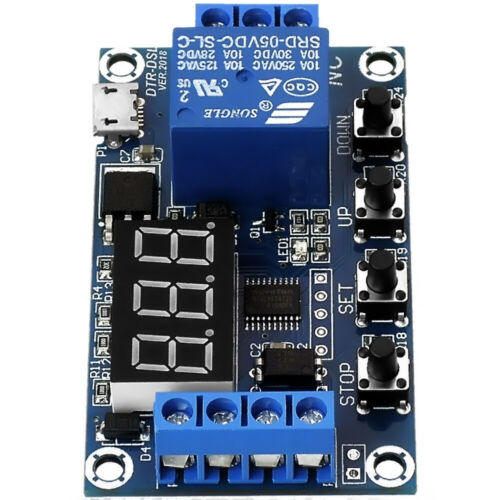
DC 6-30V 1-Way Relay Module Power-off Trigger Delay Cycle Timer Switch US Ship
$ 4.21
- Description
- Size Guide
Description
DC 6-30V 1-Way Relay Module Power-off Trigger Delay Cycle Timer Switch US ShipParameter:
Working voltage: 6-30V (supports micro USB 5.0V- power supply)
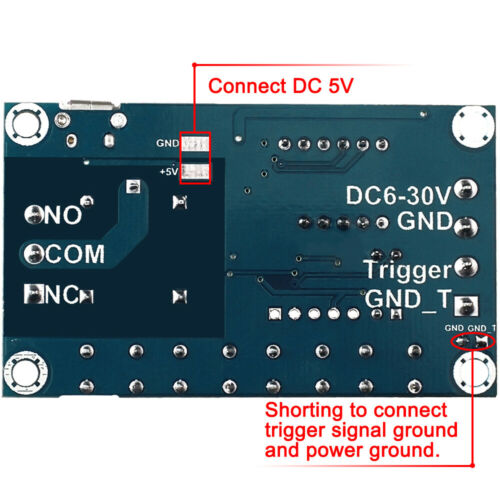
Triggering signal source: high level trigger (3.0V-24V); the signal ground and the system ground do not share the ground, so as to
Improve the anti-jamming ability of the system (or it can be shortly connected to the common ground on your own)
Output capacity: the device can control equipment within 30V 5A DC or 220V 5A AC.
Quiescent current: 20mA
Operating current: 50mA
Service life: more than 100000 times; working temperature: -40-85 ℃; Size: 6. 2* 3.81.7cm
With optocoupler isolation, enhanced anti-interference ability, industrial-grade circuit board, the memory of the
parameters is
perpetual
after powered off when it is set
Time range: 0.1 ~ 999 minutes (continuously adjustable)
NOTE:
the relay output is passive contact without live output, controlling one wire
’
s on-off
Package Included:
1 * 1-way relay module
1 * user manual
Operating mode:
P1 mode:
after triggering the signal, the relay conducts OP time and then disconnects; in OP time, the operation will be as follows:
P1.1: the relay is invalid when the signal is re-triggered.
P1.2: the relay stars to work again when the signal is re-triggered again.
P1.3: the relay is disconnected, and the timer is stopped when the signal is triggered once again.
P1.4: in OP countdown time, start on boot without triggering;
P-2.1: when the CL time of the triggering signal and the relay is disconnected, the relay conducts to the OP time. When the timekeeping is done,
the relay should be disconnected.
P2.2: P2 function distinction: the timing is triggered again.
P3.1: after the triggering signal and the relay conduct to the OP time, the relay disconnects the CL time, and then the above operation is recycled,
the signal is provided to the relay again; when the relay is disconnected, the timing stops and the recycling time (LOP) can be set;
P3.2: after the power is connected, the signal needs no triggering, the relay will conduct to the OP time while disconnects the CL time, recycle the
operation mentioned above; also the recycling times (LOP)can be set;
P-4: the signal-keeping function: if the signal is triggered, signal, the timing will be reset to clear and the relay is still conducted; when the signal disappears
and the timing of OP is done, the relay will be disconnected; during the timing period, the timing will be reset to clear if there is a new signal.
Long press the
“
down key
”
of the timing interface and switch to reversal output state (switch state is opposite).
In p3.2 mode, long press the
“
up
”
key in the timing interface, displaying
“
F1
”
means the OP time operates first, while
“
F2
”
the CL time first.
How to set the parameters
1. First, determine the working mode of the relay.
2. According to the working mode of the relay, long press the
“
SET
”
key for2 seconds in the main interface( when the module is on, it will flicker
the current working mode---the default P1.1 mode, and turn to the main interface), turning to the mode-selection interface, then choose the
mode you want by short press the
“
UP
”
and
“
DOWN
”
keys(P1.1~P-4).
After selecting the mode you want, short press the
“
SET
”
key to set the corresponding parameters, the parameters to be set will flicker, adjust
the parameter value by long or short press the
“
UP
”
and
“
DOWN
”
keys (long press means increase or decrease in a fast speed, short press means
increase or decrease 1 unit). After setting the parameter value, select the position of the decimal point by short pressing the
“
STOP
”
key and select
the time range (the corresponding time is 0.1 seconds ~999 minutes); short press SET key, set the next parameter of the current mode, the process
is the same as what mentioned above.
4. After setting the parameters of the selected mode, long press the
“
SET
”
key for 2 seconds, the current set pattern will flicker, then return to the
main interface, the parameters is settled.
Main interface: it displays "000"when the relay is not working and
“0.0.0.” when it
is
working.
Mode selection interface: you enter this mode by long pressing the
“
SET
”
key, and return to the main interface by long pressing the
“SET”
key again when the mode is settled.
Functions of the "STOP" key
Relay enabling mode:
O
n: the relay can be conducted in OP time.
OFF: the relay is off and can
’t be conducted.
The switch between on and OFF can be realized by short pressing the STOP button in the main interface. The current state will flicker and
then return to the main interface. (This is the emergency stop function which disconnects the closed relay with one button.)
Suspend mode:
C-P suspend mode: the digital tube will automatically be closed and the program will work as usual within 5 minutes without any operation;
O-d normal mode: the digital tube is always on.
Press the
“
STOP
”
key for 2s to switch between the C-P and the O-d states, and the current state will flicker and then return to the main interface.
